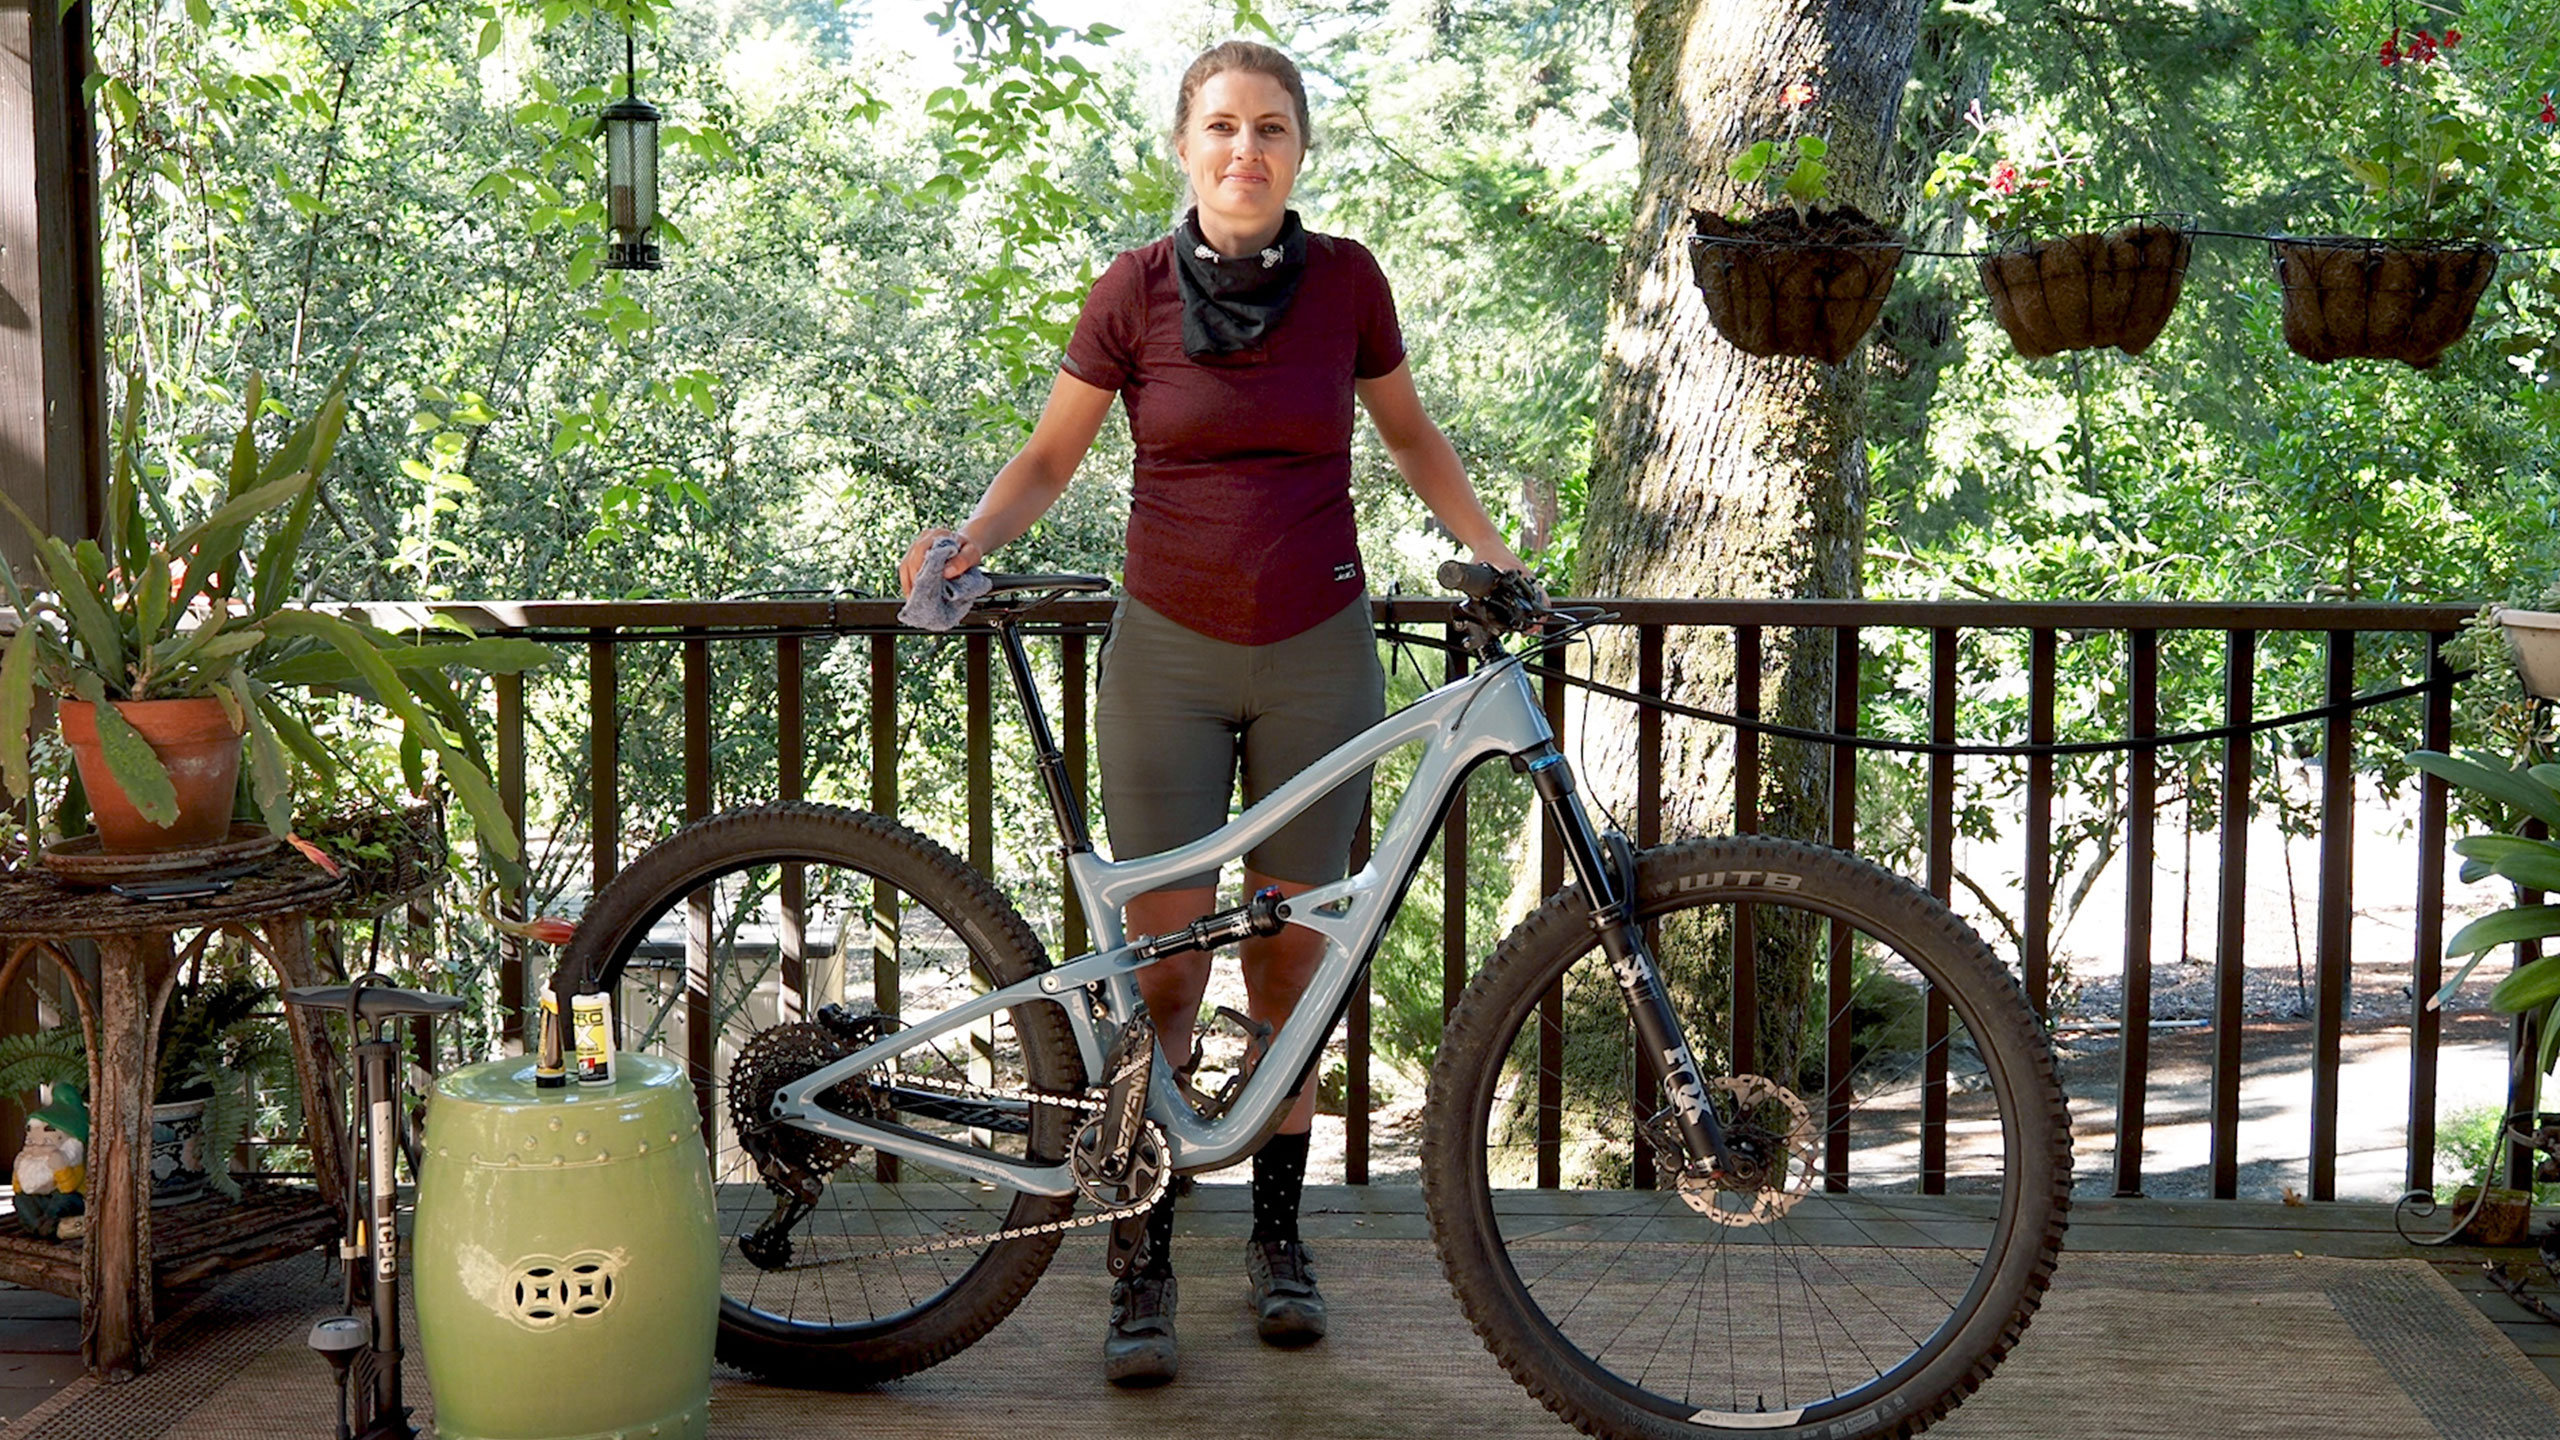
How to Get Your Bike Shred Ready Before You Hit the Trails
By Hailey Childress, Santa Rosa Bell Joy Ride Ambassador
* Important! This is a just a brief checklist. Check with your local bike shop for other important items to check.
Before I hit the trails with Bell Joy Ride or for any other rides, I run through the following quick steps to get my bike dialed.
Step 1: Noise Check
Pick up your bike just a few inches off the ground and lightly let the tires hit the ground. Listen for any abnormal or extra loud sounds and pin point where they are coming from. It could be a simple fix like a loose axle or something that may need more in depth maintenance. Whatever it might be, it’s an important safety check.
Step 2: Brake Check
This is also an important safety check. I know some of you want to go full send, which you may not need brakes for, but you should definitely aer on the side of caution and make sure your brakes grab effectively. To check your brakes, you’ll want to check the front and rear brakes separately. In this video I stand next to my bike and start with my front brake by slowly rolling the bike forward and quickly squeezing the front brake lever. If it is braking properly, the brakes should grab quickly and stop your bike. You may even get the back wheel to lift up if you are rolling it fast enough. Next, repeat this process but with the back brake. Same as the front, I roll the bike forward and squeeze the rear brake lever—the brakes should grab quickly and in-turn stop your bike quickly.
Step 3: Suspension Check
No one likes suspension that rides like anything but butter. This step is a great one to extend the life of your suspension parts and keep your rides smooth for longer. You’ll need a clean rag for this step. Use the rag to wipe any dust or gunk off of your fork stanchions and rear shock damper body. This is just a quick wipe but be sure to spend a little extra time on the seals—that’s where the gunk likes to build up.
Step 4: Dropper Post Check (if you have one)
For all you non-high posters out there, make sure you show your dropper post some love. This will also extend the life of this component and provide you with fewer mechanical issues and more enjoyable rides. Start by checking the function of the dropper. If it feels like it could move up and down more smoothly and doesn’t have any major issues, start by wiping off your dropper similar to the stanchion and damper on your suspension. Next, apply a light coat of suspension grease on the dropper stanchion. My preferred brand is Slick Honey. Then move the dropper up and down to get an even coating of the grease on the stanchion. Lastly, position your dropper so that it is fully compressed and wipe off the excess grease with your rag. A final check of the function of the dropper should show a noticeable improvement. A malfunctioning dropper is a total buzzkill so be sure to follow this step every few rides.
Step 5: Chain Check
Get that chain clean and lubed. If there’s nothing else you choose to clean this would be the best step to complete before your ride. Your drivetrain is a crucial part of your bike and the first step in taking care of it is to lube your chain. To do so, first wipe any dirt or grime off of your chain, chainring, and coggs. Second, lightly apply chain lube along your chain while backpedaling to evenly spread. Last, run your rag along your chain while backpedaling, once again, to remove any excess lube. Having your chain over-saturated with lube may leave you with a temporary tattoo. If it’s always clean and lubed, you will extend the life of your drivetrain and have an easier time shifting.
Step 6: Spoke Check
Keep your wheel running true (straight) for your rides. Checking your spokes before you ride is a good way to catch any issues before they turn into a broken spoke or nipple problem. Check the tension on both wheels by pitch two at a time all the way around. You’ll want to make sure they all feel like they have the same tension. If you find a loose spoke and know how to tighten a spoke and have a spoke wrench you’ll want to take care of it before your ride in order to give your wheels the best possible treatment. Otherwise, if you don’t know how to complete this task, I highly recommend you take your wheel to your local bike shop to have them true your wheel. Spoke tension takes a lot of minute adjustments to get your wheel dialed and can be improperly tensioned with not much effort. If you don’t have time to check your spokes before your ride, checking them while you clean your bike is another opportune time.
Step 7: Axle Check
Before you hit the trail make sure your wheels won’t get away from you. Some of you may be skilled enough to lose your front wheel and ride it out by doing a wheelie. The rest of us would probably end up crashing. So, safety first. Check both axles to make sure they are nice and snug. You have a quick lever to make this adjustment or your axel may need an allen key to adjust.
Step 8: Tire Pressure Check
Tire pressure will vary based on several factors which include wheel/tire type and rider style. If your OG and still riding wheels that are not tubeless ready, AKA wheels that require tubes, you will run your tires at a higher psi like between 30 and 40 psi. If you have your wheels set up tubeless then you will run your PSI lower—anywhere from 20 psi to 30 psi is common. As far as rider style goes, if you are a more aggressive rider and like to hit jumps, drops, kickers, etc. then you’ll need a high psi in your tire to accommodate the higher impact. If you’re a more tame rider a higher psi will suit you better. If you’re still unsure, a good place to start is the recommended psi on the sidewall of your tire. Start on the high end and gradually lower the psi until you feel like your tire can conform to the trail allowing for better traction but not run too low. No matter what you ride or how you ride you’ll want to make sure to avoid pressure that is too low which can cause you to damage your sidewall, pinch flat, or damage your wheel and make sure your tire pressure isn’t too high. You can end up having uneven tire wear and feel like your sliding or bouncing around while out of the trail. If you run through all of these steps as a pre-ride bike check then you’ll be sure to have a great ride.
Check it before you send it!
Watch Hailey's step-by-step bike check video below to see the process in action
Video produced and edited by Hannah Childress


